
How To Fit A Loft Ladder And Hatch?
Fitting a loft ladder and hatch is a DIY project with a medium level of difficulty. You have to do some basic carpentry and assembling, but it’s something most people can do on their own with basic tools.
The only thing we recommend is having a friend or family member around to help you. Read on to learn more on how to fit a loft ladder and hatch.
Sizing a Loft Ladder and Hatch
The first step is to make sure you buy the right size of ladder.
Check the floor to ceiling (or floor to loft floor) height range specified for a particular ladder and make sure your floor to ceiling height is within this range.
Most loft ladders are designed for ceilings up to 2.6-3.2m high with a minimum height requirement of 2-2.3m.
Next, check the minimum hatch opening size for the ladder. This will tell you how large the hatch needs to be.
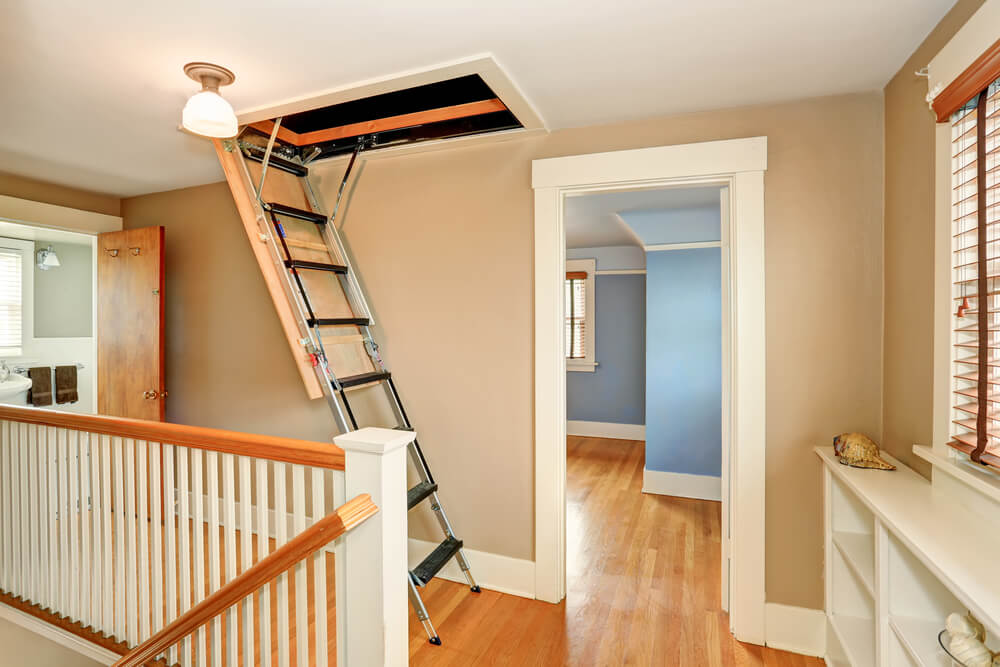
Fitting a Loft Hatch
If you are making a new hatch, rather than enlarging an existing one, the first step is to select the right location.
Make sure it’s not too close to the external wall and check that there’s enough headroom when you get into the loft.
Make an opening using a saw. If you are lucky, you won’t need to cut through any trusses or joists. If you have to (necessary if the ladder requires a large opening), make sure you don’t cut any major support joists.
Just to be safe, consult a pro to make sure you do not weaken the roof.
Once you have made the opening, fit the frame. A hatch frame consists of planks of wood around the hatch opening. They ensure the hatch can hold the weight of the ladder and the user.
Some loft ladders come with a frame that you just attach with screws to the loft opening. If the ladder doesn’t come with a frame, you’ll need to make your own or ask a pro to do it.
The next step is to install the hatch door, also called a trap door.
Again, some loft ladders also come with a hatch door. If yours doesn’t, we don’t recommend going the DIY route and making your own hatch door.
Instead, buy a readymade hatch door. You can easily find one on Amazon or at a local hardware.
The reason for this is simple: insulation.
A readymade hatch door is designed to provide the best insulation to your home and loft. If you make your own, it may not be as effective at protecting your home from heat loss.
Note: If you are buying a hatch door, most come with the frame, so no need to make your own frame. Just make sure you loft opening is compatible with the size of the new frame and door.
Install the loft door with hinges, making sure it swings downwards.
Installing the Loft Ladder
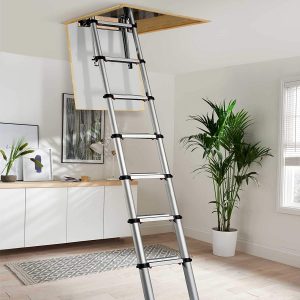 How you attach the ladder to the loft depends on the type of ladder. But everything you need to install the ladder should be included in the package.
Attach the mounting brackets to the loft frame and secure the ladder onto the hatch door.
Note: Check the product manual for specific instructions.
After installing the ladder, operate it to make sure it is working properly. Open the hatch door and unfold or extend the ladder.
Check that it reaches the floor with the rubber feet planted securely on the floor.
If your loft ladder is too long, you’ll need to cut off a section at the bottom. But if you have a telescopic ladder, you simply retract it to the right height.

Recommended For You
How To Unclog A Kitchen Drain With Standing Water
Nicky Ellis
Nicky is an editor-in-chief at Clean House Fast. She is a mum of three and lives in London with her family. She enjoys keeping her house stylish and clean as much as her morning yoga sessions.


This article made a huge difference! I really learned a lot today and will continue reading some of your contents. Thank you.